

See your skin in detail
Explore areas of interest through magnified images and different lighting views, and show your doctor what you would like to address.
HIGH-DEFINITION 3D FACIAL ANALYSIS
Review your own skin images with a doctor. Explore your concerns, expectations and care options before deciding on the next step.
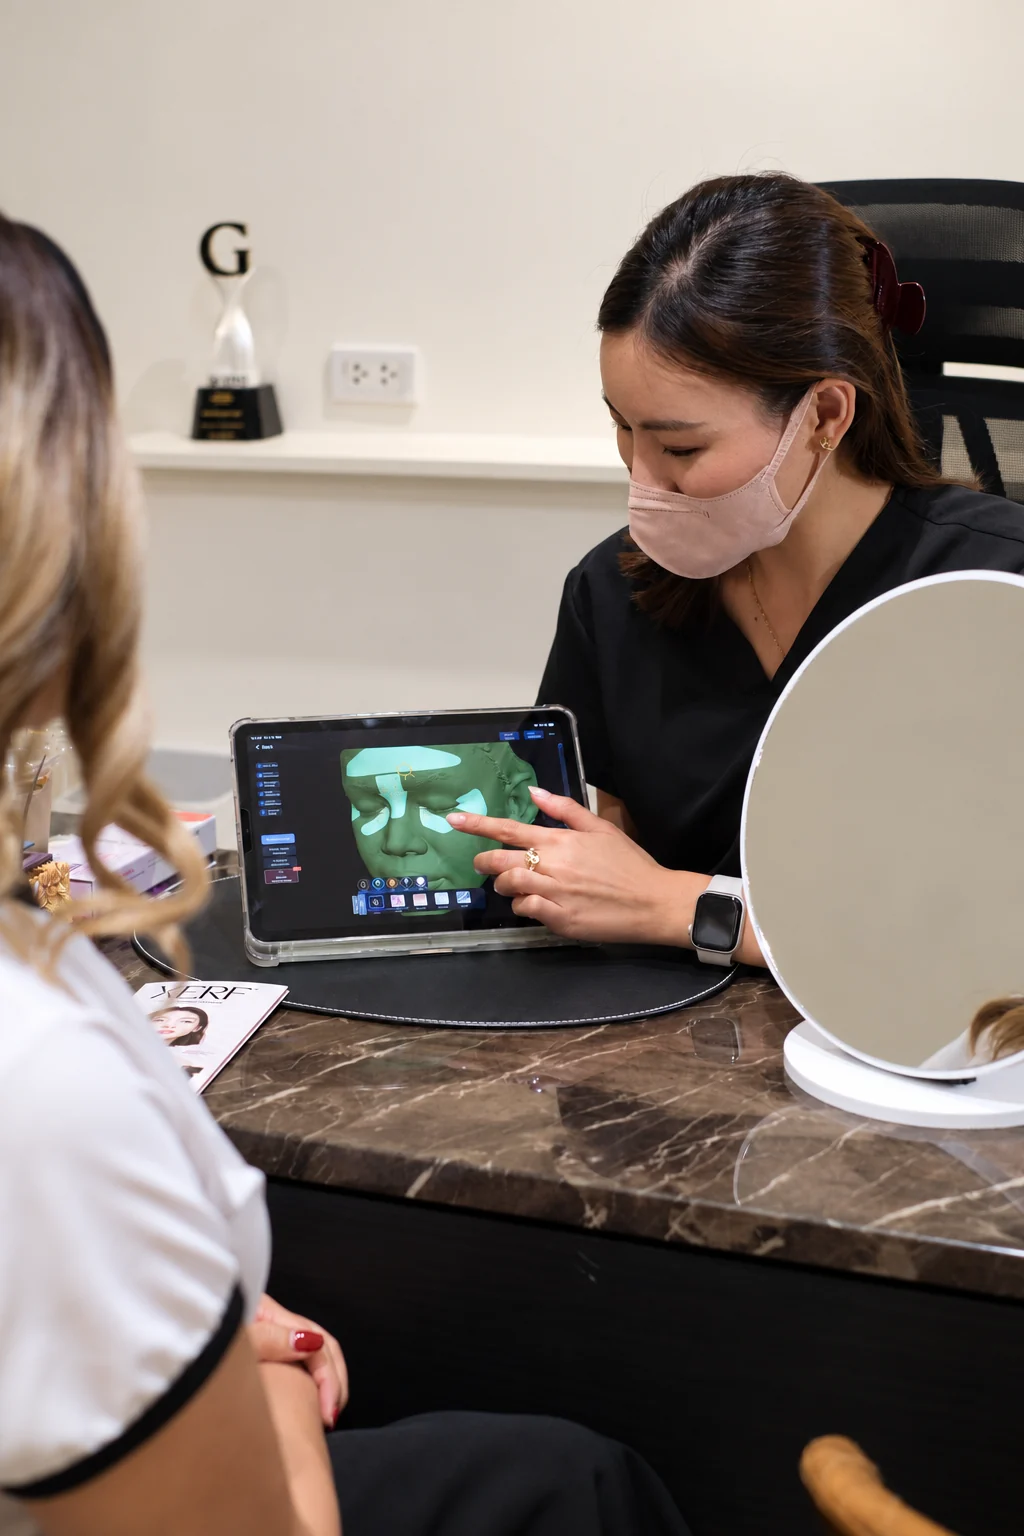
01 / A SHARED UNDERSTANDING
Explore areas of interest through magnified images and different lighting views, and show your doctor what you would like to address.
Record your skin and face at the assessment as a reference for discussion and for considering follow-up.
Discuss the changes you hope to see, the reasons behind each option and the extent of change you can expect.
“Uneven texture”, “fine lines” and “uneven skin tone” describe a concern in broad terms. During a consultation, identifying the location, appearance and areas that matter most to you makes the conversation more specific.
Magnified images, three-dimensional surface views and different lighting modes bring skin details into closer view. You can point to an area of interest while your doctor uses the images alongside an examination to explain what you are addressing and why a particular option is being considered.
02 / EXPLORE THE IMAGES
Choose a view that relates to your concerns, then explore the detail alongside its explanation.
Start with a colour view of your skin, then explore redness, pigmentation or surface detail in the other views.
Look at the cheeks, nose and eye area, noticing colour and detail in the areas that interest you.
Use this view to show your doctor your concerns before looking at each in more detail.
Example scans. Paired images show before on the left and after on the right. They support the discussion and do not guarantee treatment results.
A redness-enhancing view helps show its pattern and distribution, supporting a doctor’s assessment of possible inflammation or irritation.
Notice the location and distribution of red areas on the cheeks and nose, rather than judging by colour intensity alone.
Redness can have different causes. Your doctor considers the image alongside symptoms and a skin examination when discussing suitable care.
Example scans. Paired images show before on the left and after on the right. They support the discussion and do not guarantee treatment results.
A magnified surface view of the cheeks, nose and mouth area shows pore detail and skin grooves, with coloured software markers overlaid on the image.
Look at pore patterns, cheek texture and grooves around the mouth to show your doctor the areas you would like to address.
Clarify whether lines, pores or smoothness are your main concern, so the discussion can focus on the care that matters to you.
A single magnified image illustrating skin detail; this is not a before-and-after comparison.
A close-up three-dimensional surface view helps show grooves and contours, adding another perspective to the discussion of lines and skin smoothness.
Look at lines around the eye and the surface of the cheek. The coloured overlay is a software visualisation.
Your doctor uses this view alongside colour images and an examination to discuss which lines or surface concerns to prioritise in your care plan.
Example scans. Paired images show before on the left and after on the right. They support the discussion and do not guarantee treatment results.
A brown-enhancing image helps make pigment patterns and uneven skin tone easier to see.
Look at the location and pattern of brown areas across the forehead, cheeks and nose.
Discuss which marks you would like to address. Your doctor assesses their type, cause and suitable treatment alongside a skin examination.
Example scans. Paired images show before on the left and after on the right. They support the discussion and do not guarantee treatment results.
A specialised-lighting view shows differences in brightness and coloured spots that add to the ordinary colour image.
Notice bright spots and areas that look different from the colour view. Ask your doctor how these relate to your skin condition.
Ask your doctor to explain the additional details alongside the colour image, your symptoms, skin condition and current products when discussing your care plan.
Example scans. Paired images show before on the left and after on the right. They support the discussion and do not guarantee treatment results.


03 / YOUR VISUAL RECORD
Images recorded at your assessment document your skin and face at that time. They provide a clear reference for the areas of interest, the details observed and the concerns you would like to follow over time.
When comparing images taken at different times, using the same area and imaging mode, with similar head position, lighting, facial expression and skin preparation, supports a systematic comparison. Your doctor can then use the images to explain differences alongside each assessment.
04 / YOUR EXPECTATIONS
Where would you like to see a change? What matters most to you, and what kind of change are you hoping for? Your images give these conversations specific details you can point to.
Your doctor considers your wishes alongside the images, your history and an examination, then explains the options, the extent of change you can expect and the sequence of care. Your daily life and budget also inform the discussion, so you can understand the reasons behind the plan and take part in the decision.
05 / YOUR VISIT
Discuss your areas of interest, what you have noticed and your expectations.
Explore your skin and face through different views, using your images to support the conversation.
Bring the images, examination and your goals together to decide on the approach and sequence of care.
3D skin and facial analysis uses high-definition images, magnification and different lighting modes to show skin details and facial surface texture. Your doctor considers the images alongside your history and an examination to discuss your concerns and plan care with you.
Images let you point to areas of interest and describe the changes you would like to see. Your doctor considers this alongside an examination to explain the options, the extent of change you can expect and the sequence of care.
Magnification and specialised lighting can make some details easier to recognise, including fine lines, pore patterns, and the distribution of redness or pigmentation. This does not mean seeing every skin layer or every hidden problem.
Redness provides information that can support a doctor’s assessment of inflammation or irritation. Red areas can have different causes, so the image needs to be considered alongside symptoms, history and a skin examination.
The same area is viewed in the same mode, with head position, expression, lighting and skin preparation kept as similar as possible. A doctor helps interpret the differences. Ask the team about arrangements for repeat scanning before booking.
The assessment costs THB 1,000 per session and is available at BEHAP Asoke only. Advance booking is required. You will receive an assessment report after your assessment. Contact the team to arrange an appointment and ask about preparation.
Product information describes image formats. The study of polarised photography explains general skin-imaging principles; it does not validate treatment outcomes for this device.
Before your appointment
Contact the team to book in advance. Let us know you are interested in 3D skin and facial analysis and describe the areas you would like to address.
Book a scan & doctor consultation